Showing posts with label wreath. Show all posts

Monday, December 3, 2012

guest post: moss & burlap wreath tutorial {by Decor & More}

Hello, Stay-at-Home Artist readers! I'm Heidi and I blog about home decor DIY and inspiration over at Decor & More


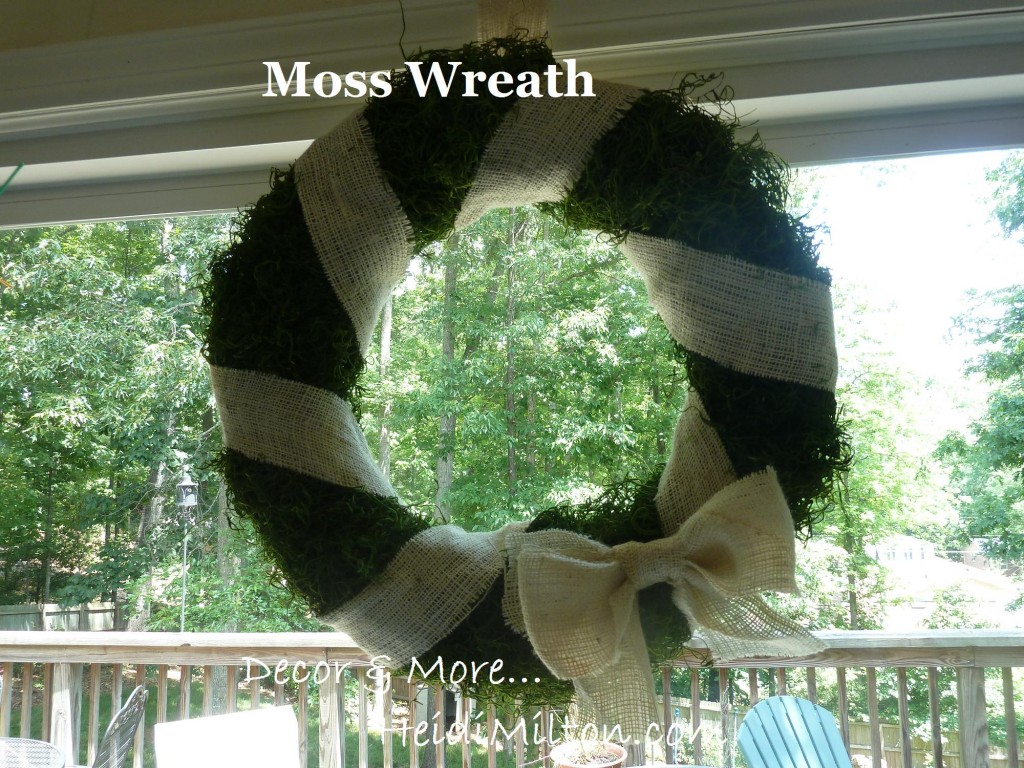
 Kacey's blog was one of the first blogs I started reading and I love her creative spirit, so I'm thrilled to be hanging out over here with y'all. I thought I'd share one of my favorite DIY's to date -- my Moss & Burlap wreath. I made this last spring, but it's hung around (literally) in different rooms of my home ever since. I think it would super simple to tweak for the holidays, too. So here's the how-to!


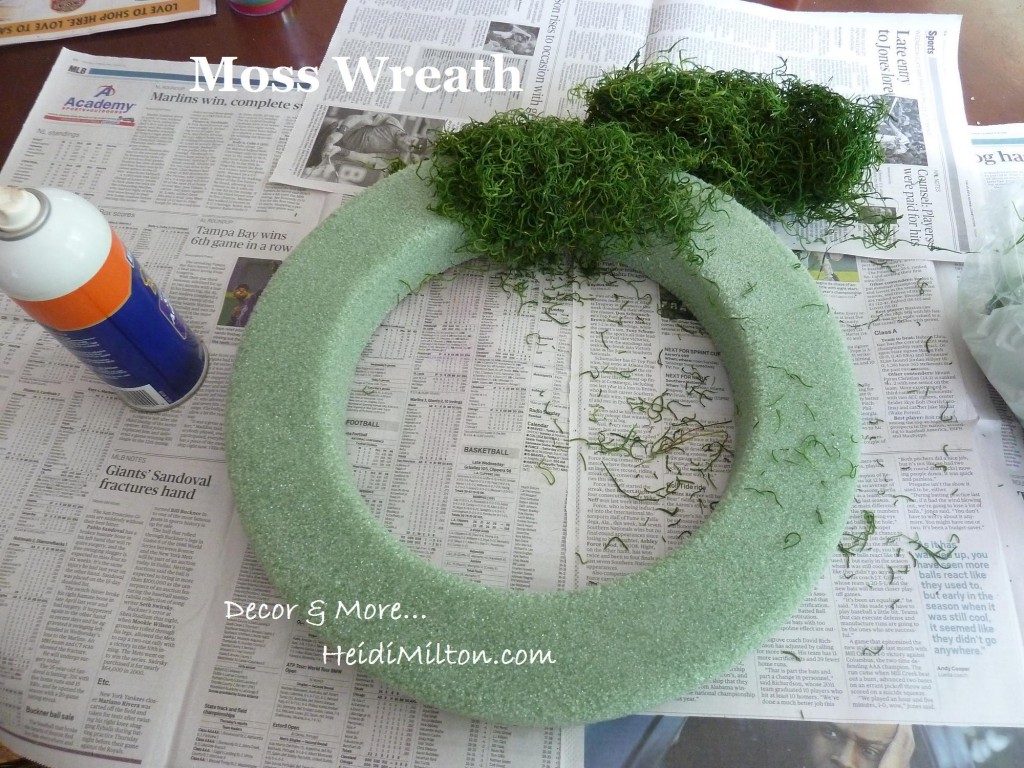
 I gathered up a few things I had laying around from other projects: a wreath form, moss, spray adhesive, and burlap scraps that I cut into strips (a poor girl's version of burlap ribbon!).


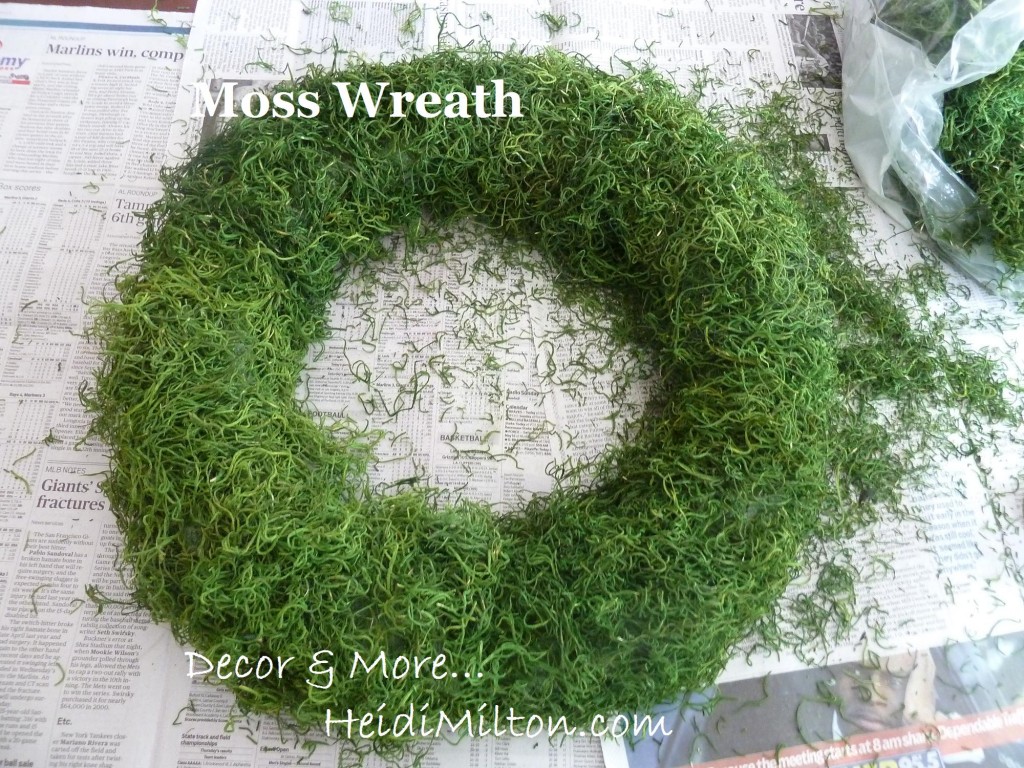
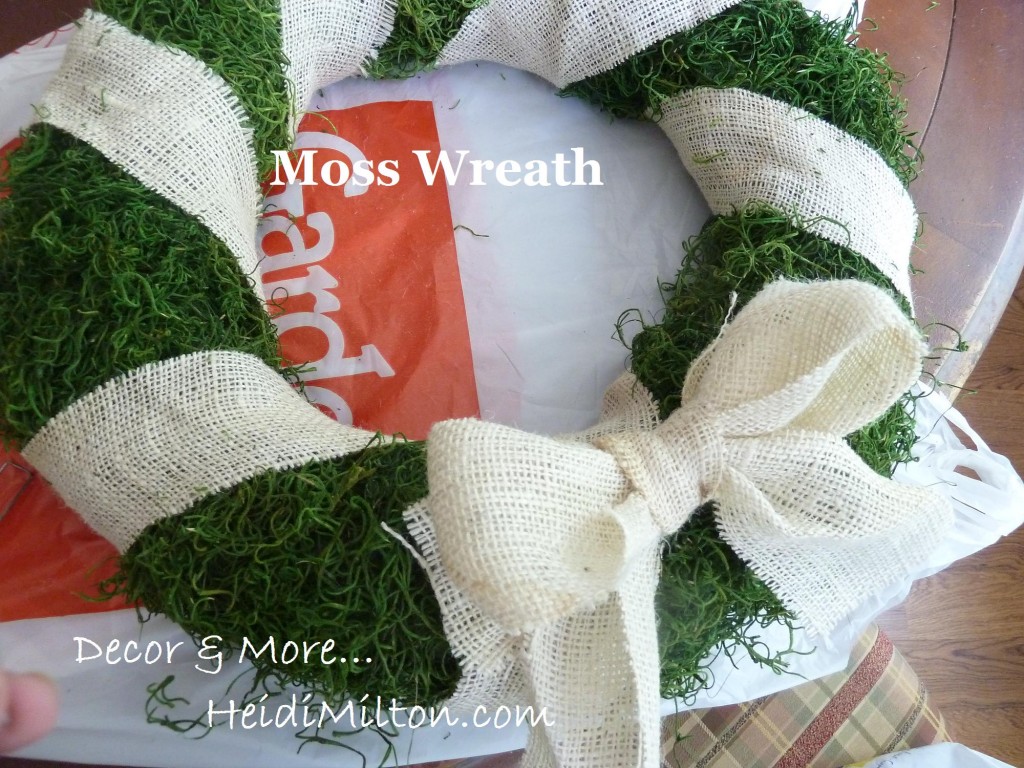
This part was super easy. I simply sprayed my Elmer's Spray Adhesive in small sections and pressed the moss into place once the adhesive became tacky. The hardest part was containing the mess that little bits of the moss made.


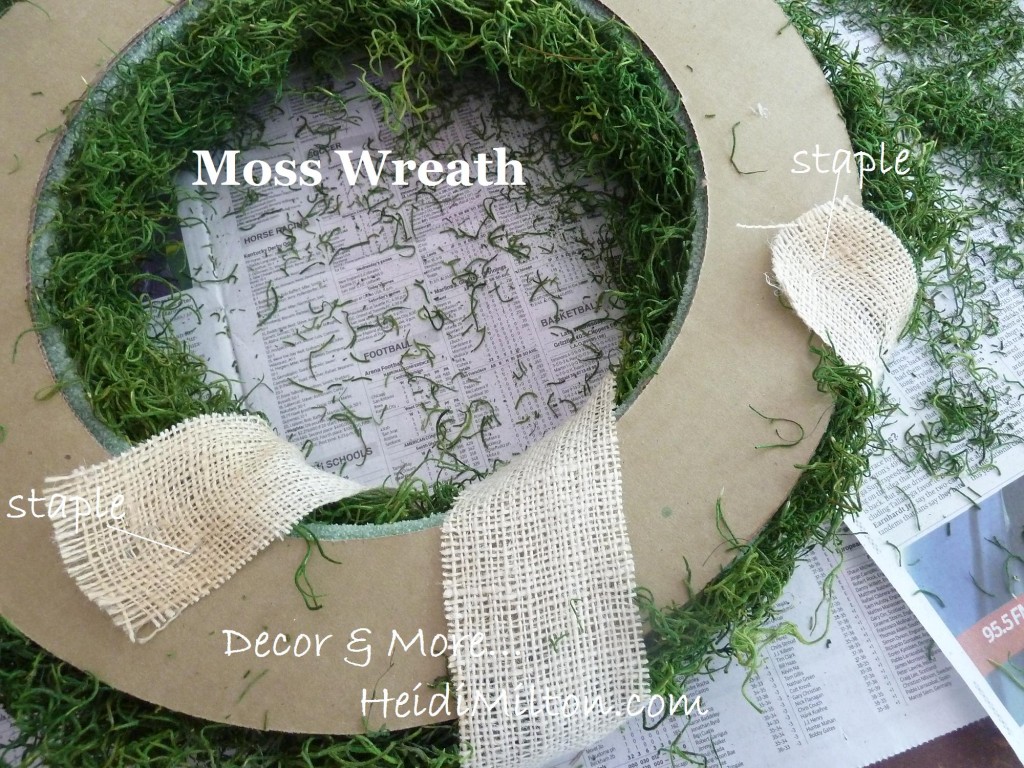
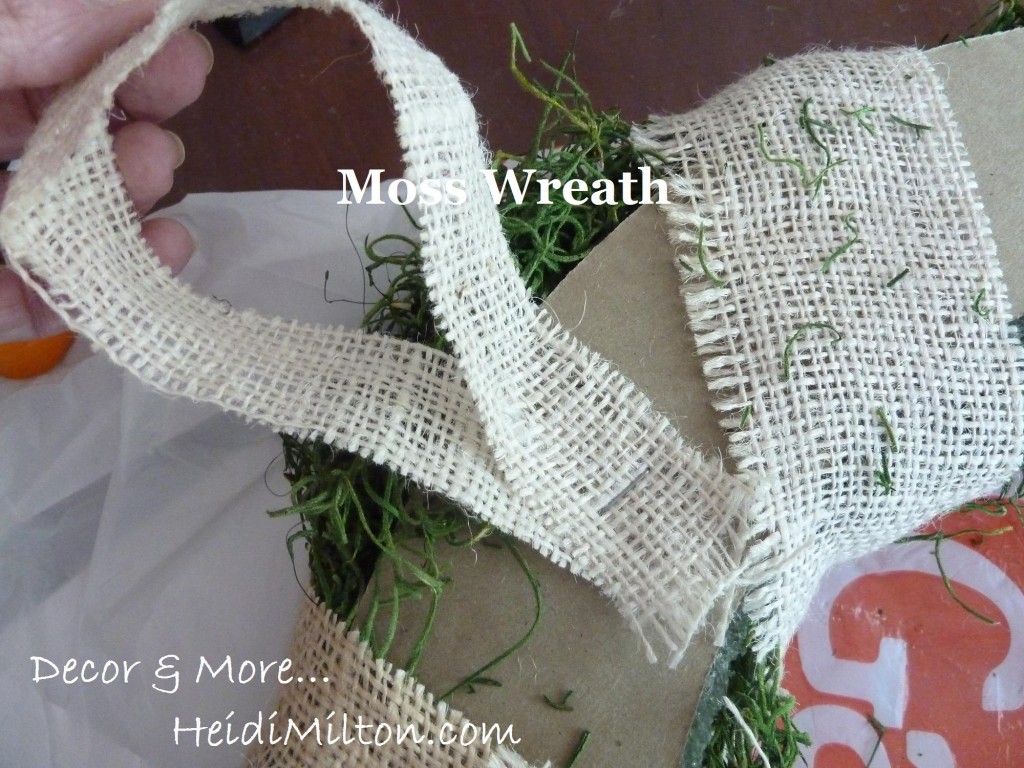
Once it's entirely covered, you made need to beef up your moss in a spot or two. See the mess I made? :) I let everything set for about 15 minutes after I finished applying the moss. Then I started working with my burlap strips. Because I cut these from scraps, each one is only long enough to wrap around the wreath once. So I stapled the ends into the backside of the wreath.


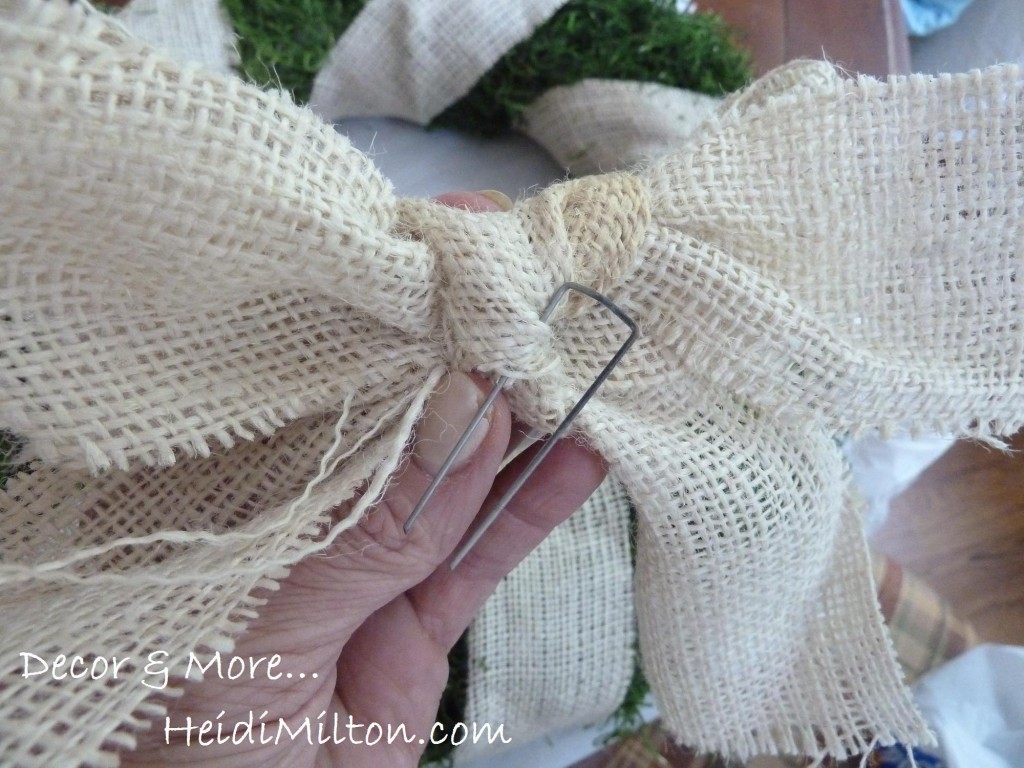
 If you're using a wreath form that doesn't have cardboard backing, you can secure your strips/ribbon with floral tacks. Again, I was using what I had on hand. Now, I knew I wanted a burlap bow on this. So I looked up tutorials on Pinterest. Trouble is, the only ones I found were for burlap tibbon. I was dealing with burlap strips, so all the tutes I tried were utter failures. I resorted to a very simple bow. The simplest of bows. Then I stuck a tack in it.


And stuck it on the wreath, making sure it went into the styrofoam.


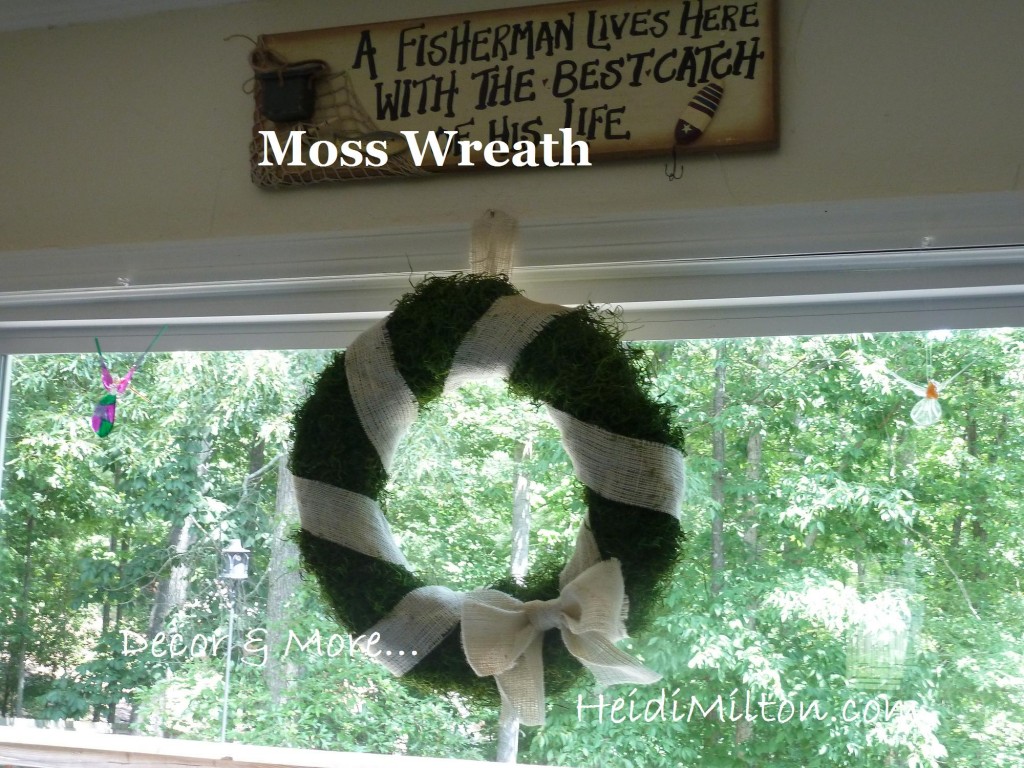
 I used another strip to make a loop on the back for hanging.


You can see how I roll. Easy peasy.


 I'd love to hear from you if you give this project a try! Come visit me at Decor & More anytime... you can also find me on Pinterest, Facebook, and Twitter (@heidimilton). Thanks, Kacey, for having me!! Happy wreath-making!
     

Tuesday, October 18, 2011

whimsical fall wreath...

I usually go for traditional fall decor--autumn leaves in deep oranges and reds.  But this year I decided to do something a little more playful and out of the ordinary.


I started with a straw wreath form, polka dot ribbon, two fun fall picks, and felt.

I unwrapped my straw form, which is unorthodox, but I wanted the straw to show.  (It is a fall wreath, after all.  And I liked the texture.)  I then wrapped it with polka dot ribbon.

Next, I glued on my two picks, leaving a bit of a gap between them.

I filled up the space with a few ivory and mustard felt flowers.


And that was it!


All the supplies were 50% off, too, so this whole project only cost about $6.

What did you do for your fall decor this year?  Anything new?

Visit thecsiproject.com

Monday, April 4, 2011

daffodil wreath re-visited...

In case you missed it, I recently made a daffodil wreath.

And I hated it.

It wasn't necessarily a bad wreath, it just really didn't jive with my bright red front door.  Some of you gave me suggestions to improve it, but in the end I just had to think about a little color theory.  I was putting two saturated primary colors right next to each other.  What my wreath needed was some neutrals to temper those bright hues.  This is what I came up with...


Ta-da!  Much better, right?!
Less "Dr. Seuss" and more "Bright and Springy", which is what I was going for.
It doesn't require much explanation if you are interested in making one of your own.  First, I ripped all those daffodils off of my wreath form, but you are welcome to skip that step.  Haha.  Then I wrapped it in hemp cording, tacking it down with hot glue on the back every now and then (which added great texture as well as a neutral foundation).  I glued on a small grouping of daffodils and some aqua ribbon for a pop of color.  And there's a little pearly goodness on there, too...the pearls were on my craft table and the glue gun was hot.  What's a girl to do?  :)

Anyway...now I LOVE it!  Isn't it great when a second try yields better results that you imagined in the first place?  Lesson learned...

Related Posts Plugin for WordPress, Blogger...