Hello, Stay-at-Home Artist readers! I'm Heidi and I blog about home decor DIY and inspiration over at Decor & More.
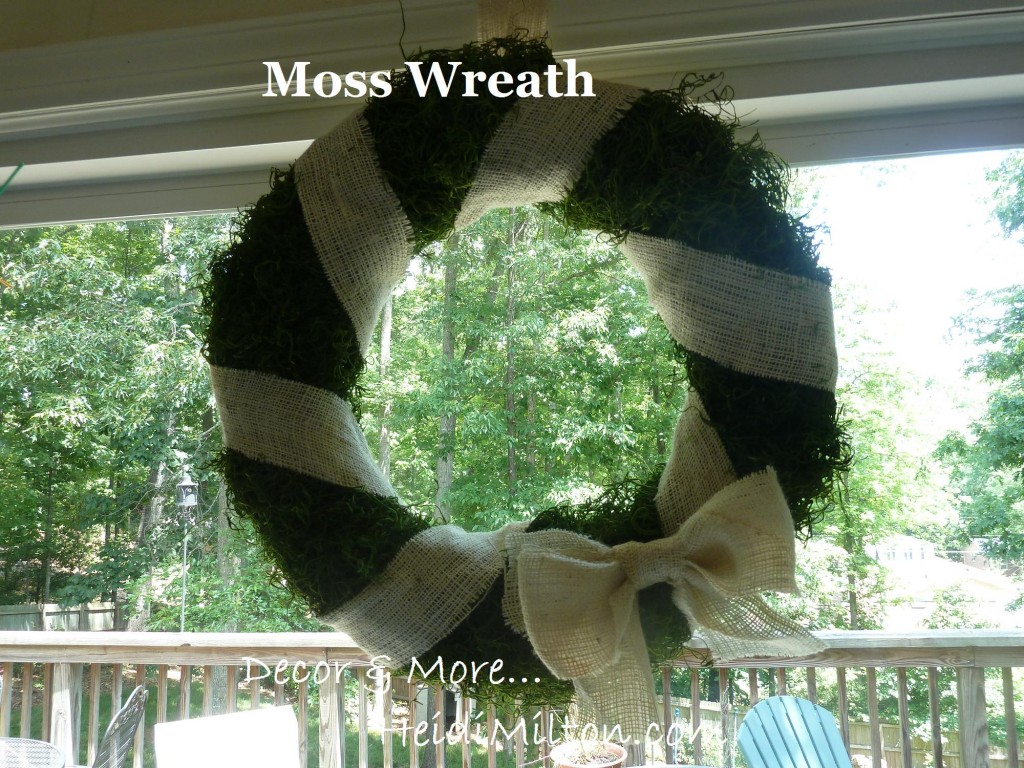
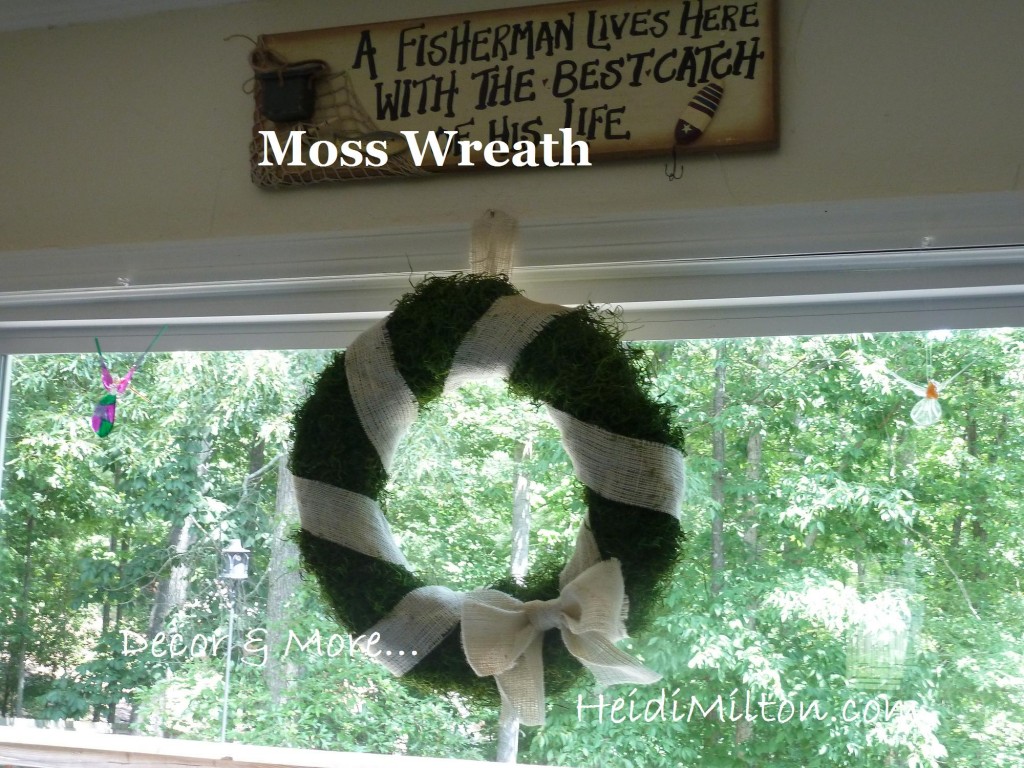
Kacey's blog was one of the first blogs I started reading and I love her creative spirit, so I'm thrilled to be hanging out over here with y'all. I thought I'd share one of my favorite DIY's to date -- my Moss & Burlap wreath. I made this last spring, but it's hung around (literally) in different rooms of my home ever since. I think it would super simple to tweak for the holidays, too.
So here's the how-to!
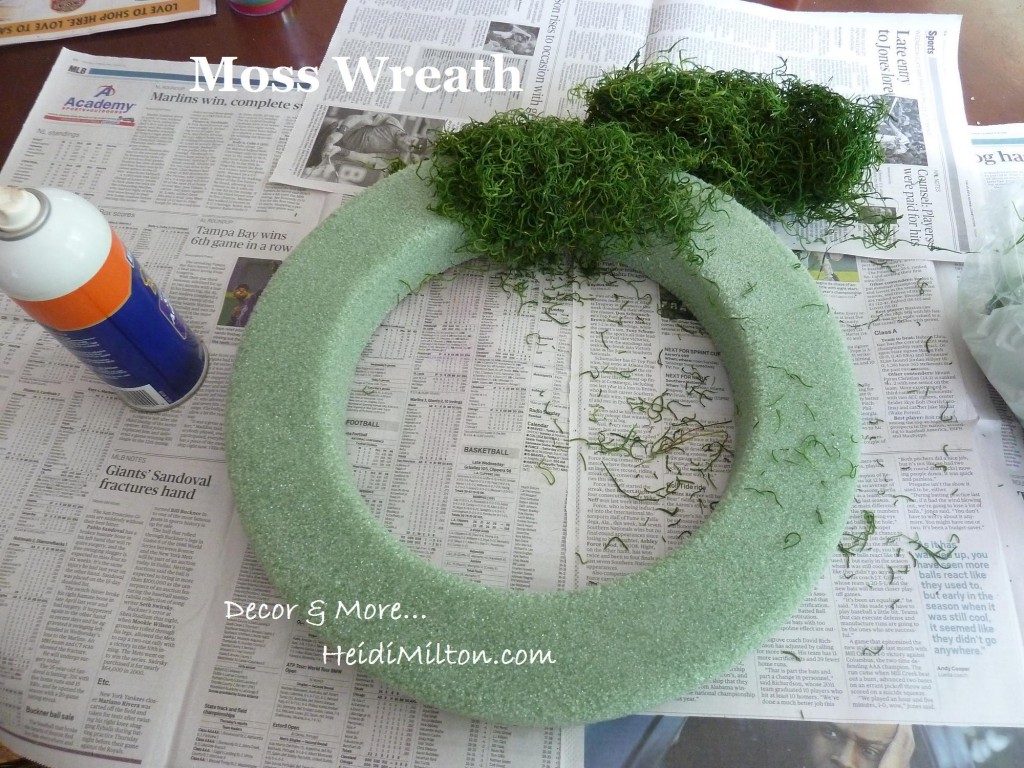
I gathered up a few things I had laying around from other projects: a wreath form, moss, spray adhesive, and burlap scraps that I cut into strips (a poor girl's version of burlap ribbon!).
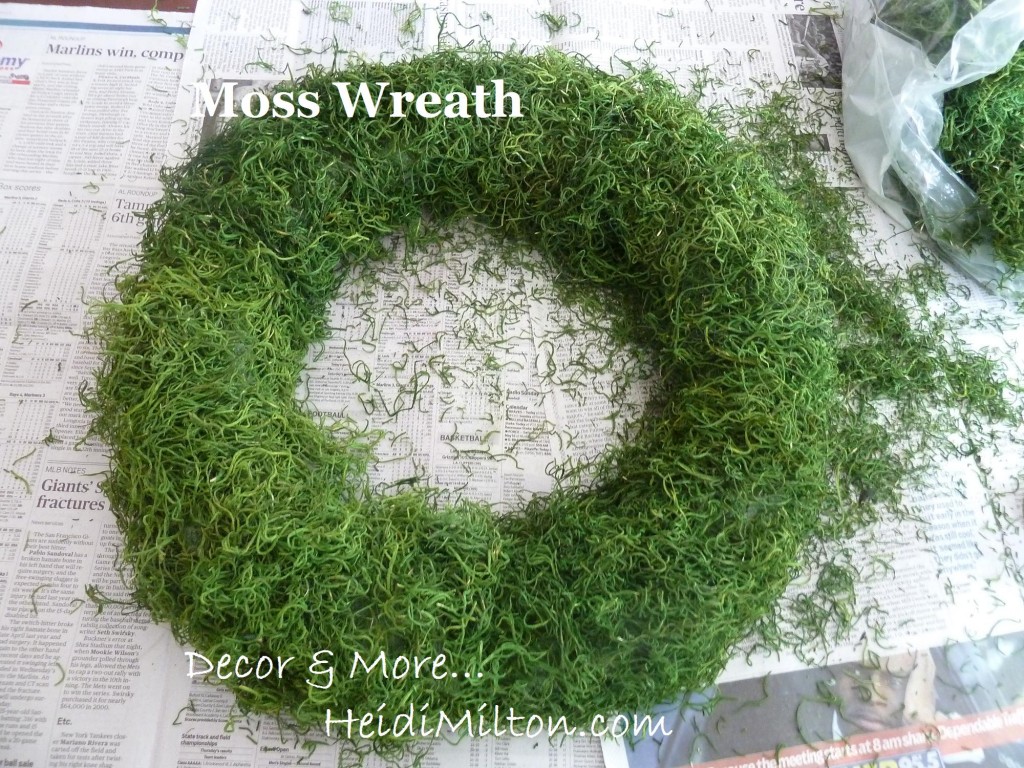
This part was super easy. I simply sprayed my Elmer's Spray Adhesive in small sections and pressed the moss into place once the adhesive became tacky. The hardest part was containing the mess that little bits of the moss made.
Once it's entirely covered, you made need to beef up your moss in a spot or two. See the mess I made? :)
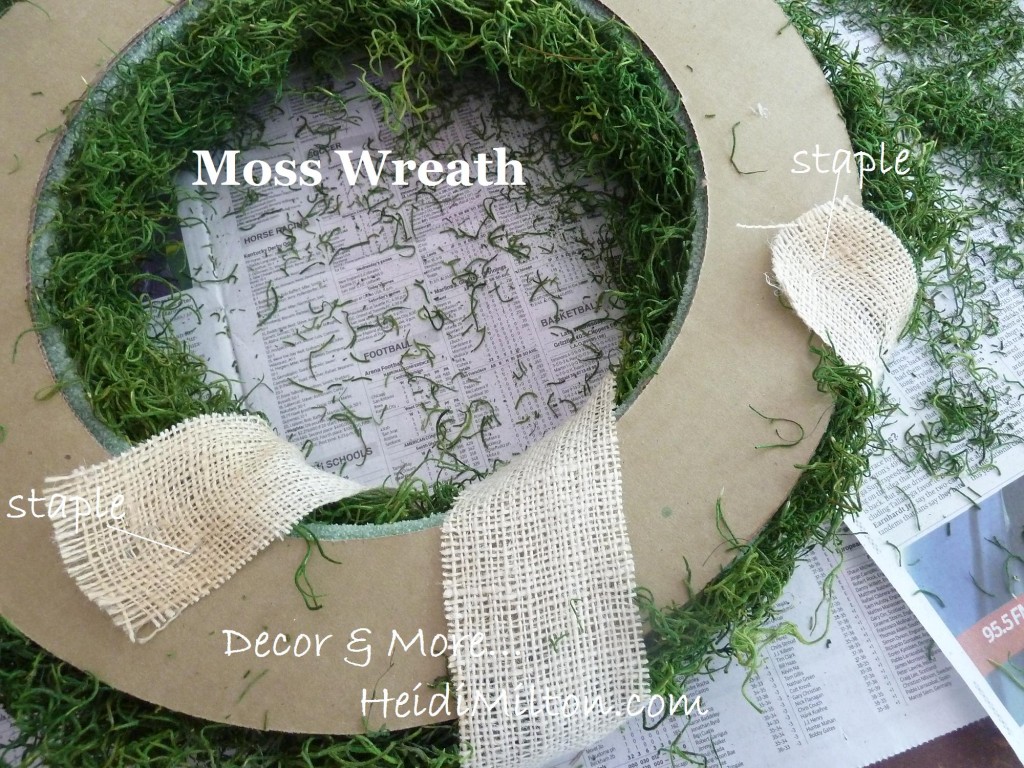
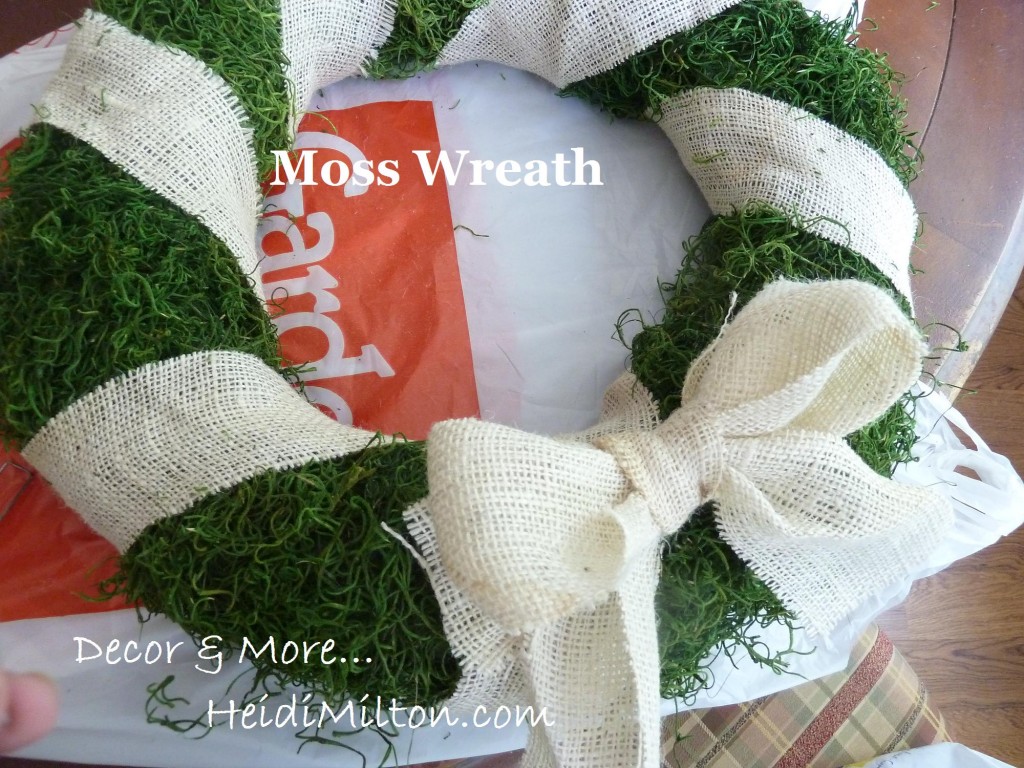
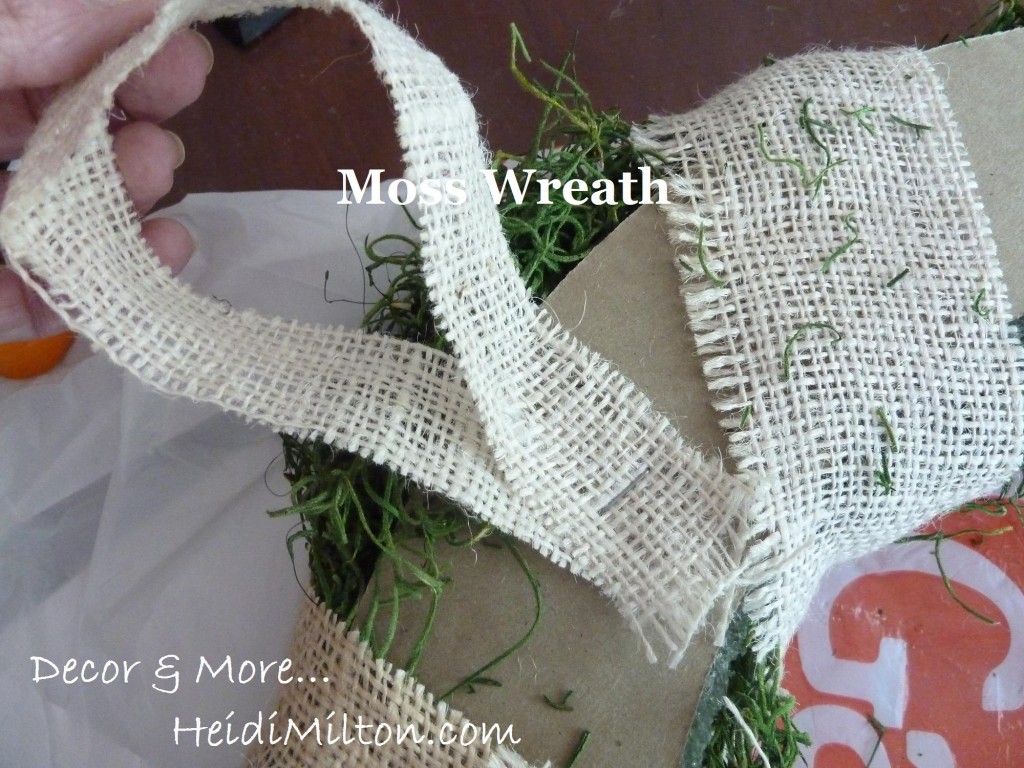
I let everything set for about 15 minutes after I finished applying the moss. Then I started working with my burlap strips. Because I cut these from scraps, each one is only long enough to wrap around the wreath once. So I stapled the ends into the backside of the wreath.
If you're using a wreath form that doesn't have cardboard backing, you can secure your strips/ribbon with floral tacks. Again, I was using what I had on hand.
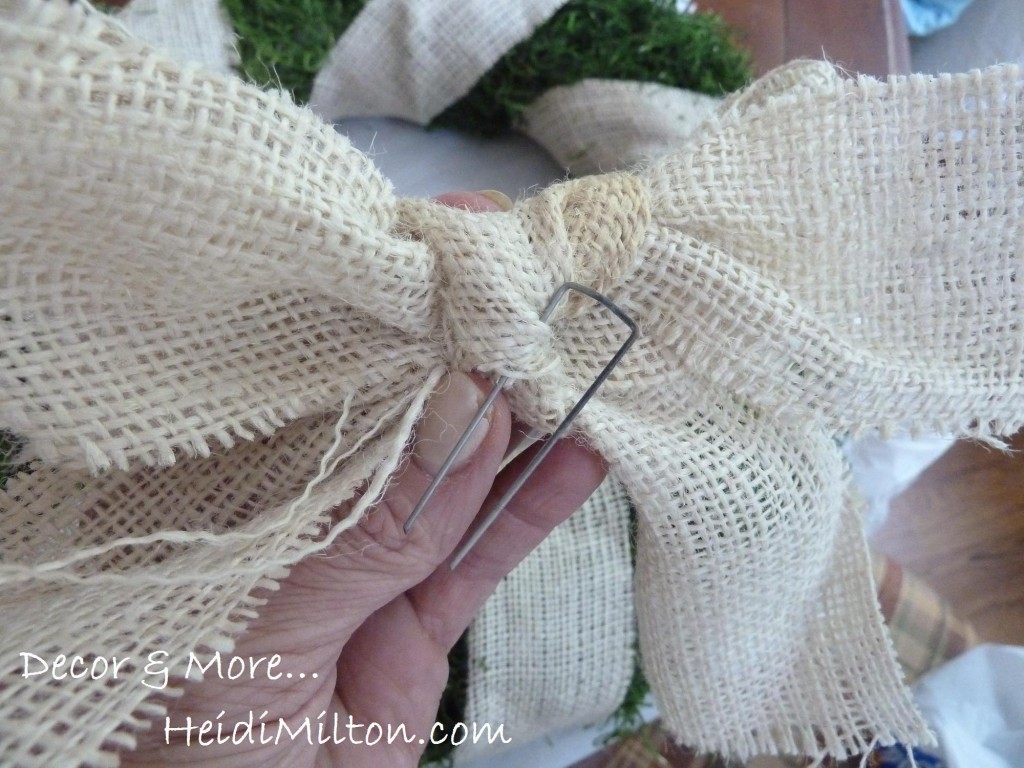
Now, I knew I wanted a burlap bow on this. So I looked up tutorials on Pinterest. Trouble is, the only ones I found were for burlap tibbon. I was dealing with burlap strips, so all the tutes I tried were utter failures. I resorted to a very simple bow. The simplest of bows. Then I stuck a tack in it.
And stuck it on the wreath, making sure it went into the styrofoam.
I used another strip to make a loop on the back for hanging.
You can see how I roll. Easy peasy.
I'd love to hear from you if you give this project a try! Come visit me at Decor & More anytime... you can also find me on Pinterest, Facebook, and Twitter (@heidimilton).
Thanks, Kacey, for having me!!
Happy wreath-making!



Thanks, Kacey, for having me today!! It's fun hanging out in someone else's "space" for a bit.
ReplyDeletexoxo Heidi
I LOVE burlap! I just bought some not to long ago and it wasn't cheap! I will have to check out this site. What a great a simple wreath to make. Love the pattern material you wrapped around it too.
ReplyDeleteMarlene Detierro (Alden)
Thanks for give me information about more home decoration with burlap wreath. I like comforter brands
ReplyDelete